A Tenant’s Guide to Stress-Free Move-Out Cleaning
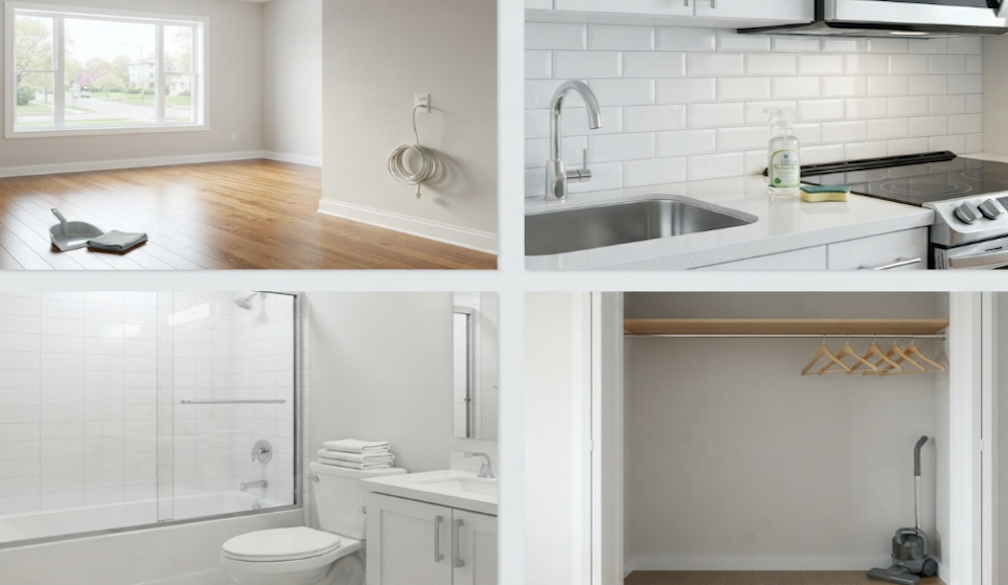
You’ve stacked your boxes, booked the removalists, and you’ve officially survived the trauma of scrolling through Sydney rental listings.
But before you can celebrate your new keys, you have to face the ultimate hurdle of the rental market: bond cleaning. It’s the one task that can turn a perfectly reasonable adult into a ball of late-night panic.
Property managers view your space through a uniquely critical lens, searching for any excuse to hold onto your hard-earned cash. Fortunately, you can completely avoid any bond-slashing ordeals if you follow our straightforward move-out guide.
Understanding What Landlords Actually Check
Property managers don’t just glance around the rooms and return your bond. They follow detailed checklists that target areas tenants often forget to clean.
Skirting boards, window tracks, and the tops of built-in wardrobes are common inspection areas. Light switches and door handles can also accumulate subtle grime that catches the afternoon sun.
Don’t forget the blinds, as they’re another favourite spot for property inspectors to run a testing finger along.
Knowing these specific focus areas allows you to direct your energy exactly where it counts. The goal is to return the property to its original condition, minus fair wear and tear.
Preparing Your Supplies Early
Leaving the entire cleaning job until your final afternoon is an absolute recipe for disaster.
Your vacuum cleaner will inevitably choose that exact moment to start blowing dust back into the room. That’s why you’ll need to gather your supplies a week before you move. This’ll also prevent frantic supermarket trips on Sunday night.
Having the right kit on hand keeps the process moving forward without any unexpected interruptions. You’ll want to stock up on these essentials well before the packing tape comes out:
- Cleaning solutions. Stocking up on microfibre cloths, heavy-duty degreaser, glass cleaner, multi-purpose cleaner, and a reliable scrubbing brush is essential.
- The hardware. Grab a sturdy bucket, a reliable mop, an old toothbrush, and plenty of large garbage bags before you start.
- The caddy. A portable plastic tub works perfectly to keep all your gear together as you move from room to room.
Make sure to check the battery in your cordless vacuum or find a long extension cord for your old upright. Testing your equipment early ensures you’re not left stranded with broken tools later on.
Decluttering and Prepping the Floors
Cleaning around stacks of half-packed boxes is incredibly frustrating and doubles your workload. But you can’t properly scrub kitchen counters when they’re covered in spice jars and old mail.
It’s best to sort through your belongings room by room before you pick up your bottle of spray.
Start by donating the clothes you haven’t worn since moving to Surry Hills three summers ago. Then, you can throw away the massive collection of expired takeaway menus sitting in your kitchen drawer.
After all, empty rooms are significantly faster to sweep, mop, and wipe down from top to bottom.
Packing early also gives you a completely clear view of any hidden marks on the walls. So you can see exactly what needs attention once the furniture is sitting in the removalist van.
Once the furniture is gone, remember to wipe down all countertops, shelves, and surfaces first so that any dislodged dust falls to the floor.
After that, give the bare floors a thorough vacuuming to lift the embedded dust from the edges, and follow it with a rigorous mop of all hard surfaces to lift any lingering grime before inspection day.
Focusing on High-Risk Areas
It’s best to conquer the kitchen first, starting with the oven, which is notorious for trapping baked-on grease. Apply a strong oven cleaner the night before to let the chemicals do the heavy lifting.
Next, pop out the rangehood filters, as landlords immediately check them for yellow oil residue. You’ll also need to tackle the kitchen's exhaust fan, which usually boasts a lovely coating of vaporised cooking fat.
Once those are clean, you can wipe down the inside of every single kitchen cupboard to remove stray crumbs and rings.
Then you can pick up your caddy and move all your focus over to the bathroom. Start by spraying down the bathroom tiles and letting the cleaner break down the grime.
Remember that thick soap scum on glass shower screens and mirrors requires a dedicated cleaner and some genuine elbow grease to truly shine.
Finally, brace yourself for the grimiest task in the room. Nobody wants to dismantle a sticky, dust-caked bathroom exhaust fan. But you must ensure it’s completely free from the thick grey fuzz that builds up over months of long showers.
If looking at these grease-laden fans makes you want to stop cleaning entirely, booking professional bond cleaning in Sydney is a highly effective alternative.
Letting specialists tackle these high-risk zones ensures the hardest parts of the job are handled to strict real estate standards.
Tackling the Detail Work
Once the heavy scrubbing is out of the way, you can turn your attention to the often-overlooked areas in your home. You can easily clean those high dust traps like skirting boards and built-in wardrobes with a damp microfibre cloth.
For the window tracks, a liberal spray of heavy-duty degreaser or multi-purpose cleaner will loosen up the caked-on Sydney dust. Then, you can simply scrub the tracks with your old toothbrush and wipe away the sludge with a paper towel.
When it comes to light switches and door handles, a quick spray of multi-purpose cleaner will make them look brand new. And you can slide an old sock over your hand to wipe down individual blind slats quickly.
Managing Minor Damage and Repairs
Even a sparkling clean property can result in a failed inspection if there are obvious small signs of damage.
Fortunately, scuff marks from furniture on the hallway walls can usually be erased with a damp magic sponge. You should also check all the light globes across the flat and replace any that have stopped working.
Then, tighten loose handles on cupboard doors using a screwdriver from your toolbox. And if you hang pictures, make sure to fill the tiny nail holes with an appropriate matching filler paste.
These small touch-ups show the property manager that you’ve genuinely cared for the space. So walk through the property with a critical eye to spot these minor issues before inspection day.
Fixing them yourself is always cheaper than letting the landlord hire an expensive handyman.
Conclusion
There you have it: a tenant’s ultimate guide to move-out cleaning, so that this task doesn’t haunt you for weeks.
And now that you’ve done the reading, know what inspectors actually check, and learned how to tackle the grimiest exhaust fans, what’s left is to get your money back.
So, get your cleaning supplies ready, banish that hidden grease and dust, and go collect that bond back!